All the Tricks to Using a Piping Bag
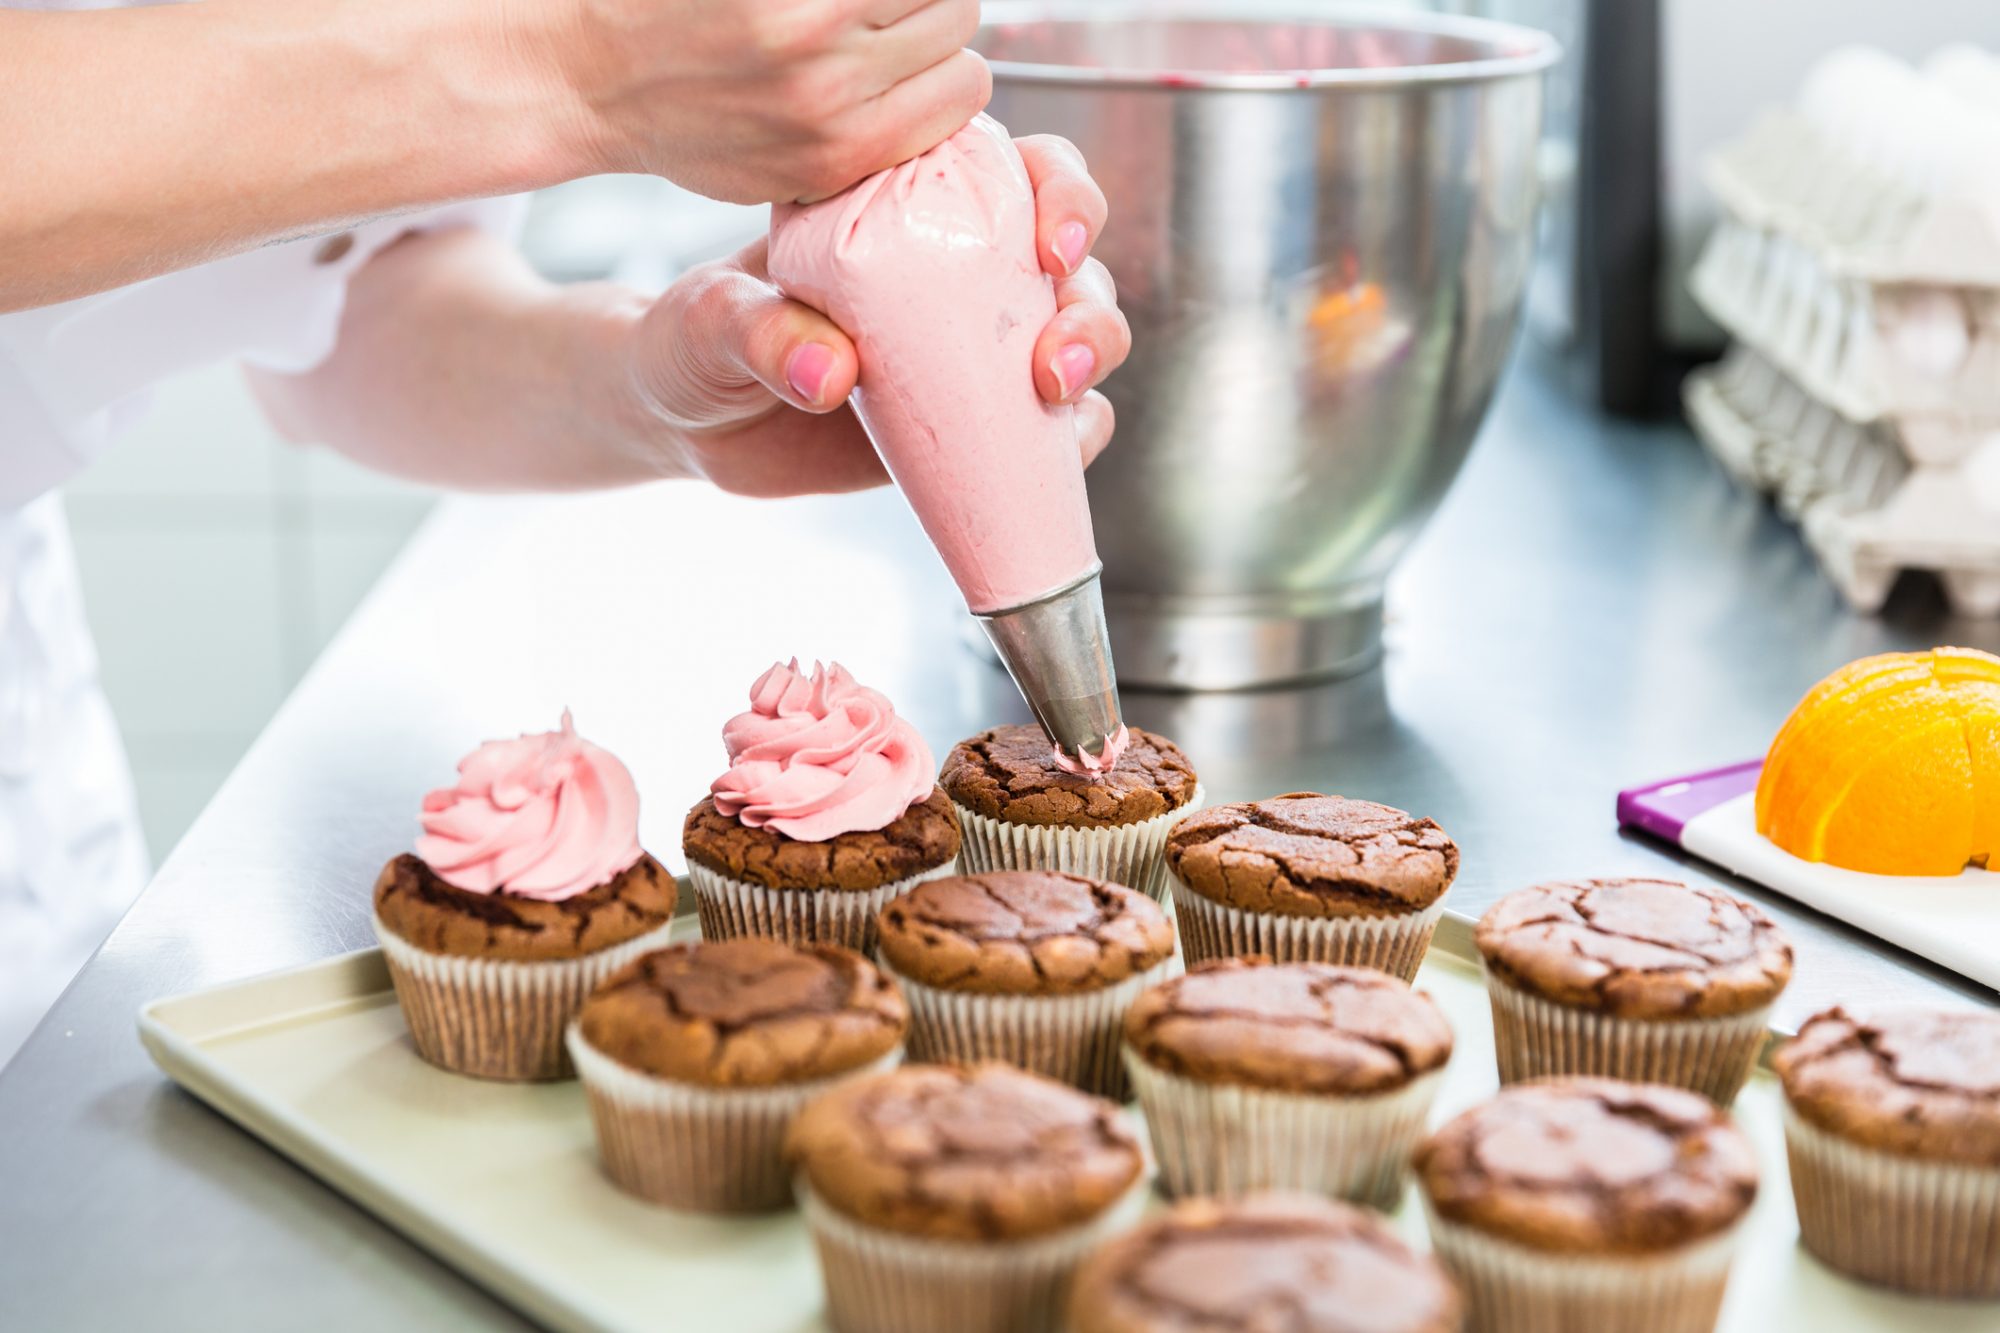

Piping bags look so simple. I mean, you put your dough or icing into the bag and snip off the tip, and there you have it, right? Even a Ziploc bag will do in a pinch, according to every Pinterest post and baking show I've seen. So why is it that whenever I attempt such a thing I end up with meringue or dough or potatoes or icing all over the place, with gloppy messes on a baking sheet instead of the pristine little swirls they're supposed to be? How, I ask, can you work a piping bag better? Thanks to a class about pastry, I finally found out, and I am here to pass on these helpful suggestions to you.
Use an Actual Piping Bag
This might sound like a "duh" kind of tip, but so deeply had I invested in the doctrine that Ziploc bags work just as well that I didn't realize how much nicer it really is to have an actual piping bag. Yes, a Ziploc bag will do in a pinch, but it isn't ideal, and if you plan on piping regularly or even more than once a year, disposable piping bags are easily found and very cheap. Grab a few! Reusable piping bags are also available but I have found them a total pain to clean, plus if you want to make multiple kinds of icing, just having one piping bag can hobble you. But you do you!
Fit the Tip Into the Bag Properly
This part was always so pesky for me! Snip too much off and the tip falls out. Snip not enough and it doesn't go through. What do you do? Here is something: You can always use a sharp paring knife and trim the corner of the piping bag around the tip rather than guesstimating the size. Your life will be so much easier!
Fill the Bag in a Quart Container
Whatever you're putting into a piping bag is probably messy. That's why you need a bag to shape it. It also means that you can end up with icing all over every surface as you try to fill the bag from the bowl you have. There's an easier way! The way is to use an upright quart container, put the tip of the bag in the bottom, and open the filling end of the piping bag around the container. Then you can leave it upright as you scoop wahtever you need to scoop into it. Isn't that better?
Use a Bench Scraper to Push the Filling Towards the Tip
Now you have the filling in the bag, but it is probably not exactly flush with the tip. It needs to be in order fo you to pipe anything, right? Not a problem. If you have a dough scraper or bench scraper, use it to push the filling in the bag towards the tip, and then twist the remaining back end of the bag together to make a neat package.
When You're Piping, Only Squeeze with One Hand
This might also be something you know, but it turns out I did not! The whole time I had piped anything I was squeezing with two hands. Turns out that totally does not help. Ideally, you use your non-dominant hand down toward the tip as a guide, and the one further up the bag to squeeze. This means you'll have roughly even pressure, and you can avoid that thing you can get in a piping bag where it looks like a toothpaste tube crumpled in the middle.
If You're Using More Than One Tip, Use a Coupler
If you try to change between tips and you have the tip directly in your piping bag, it means dumping all the contents of the bag into another bag, which is a pain, and also messy. A coupler is a piece of plastic that fits inside the pastry bag, where the tip would be, but it attaches to tips. It's great if you want to use the same substance in the bag for multiple applications, like frosting a cake. See? You don't have to be afraid of piping. Piping is your friend! Or at least, not your enemy.